
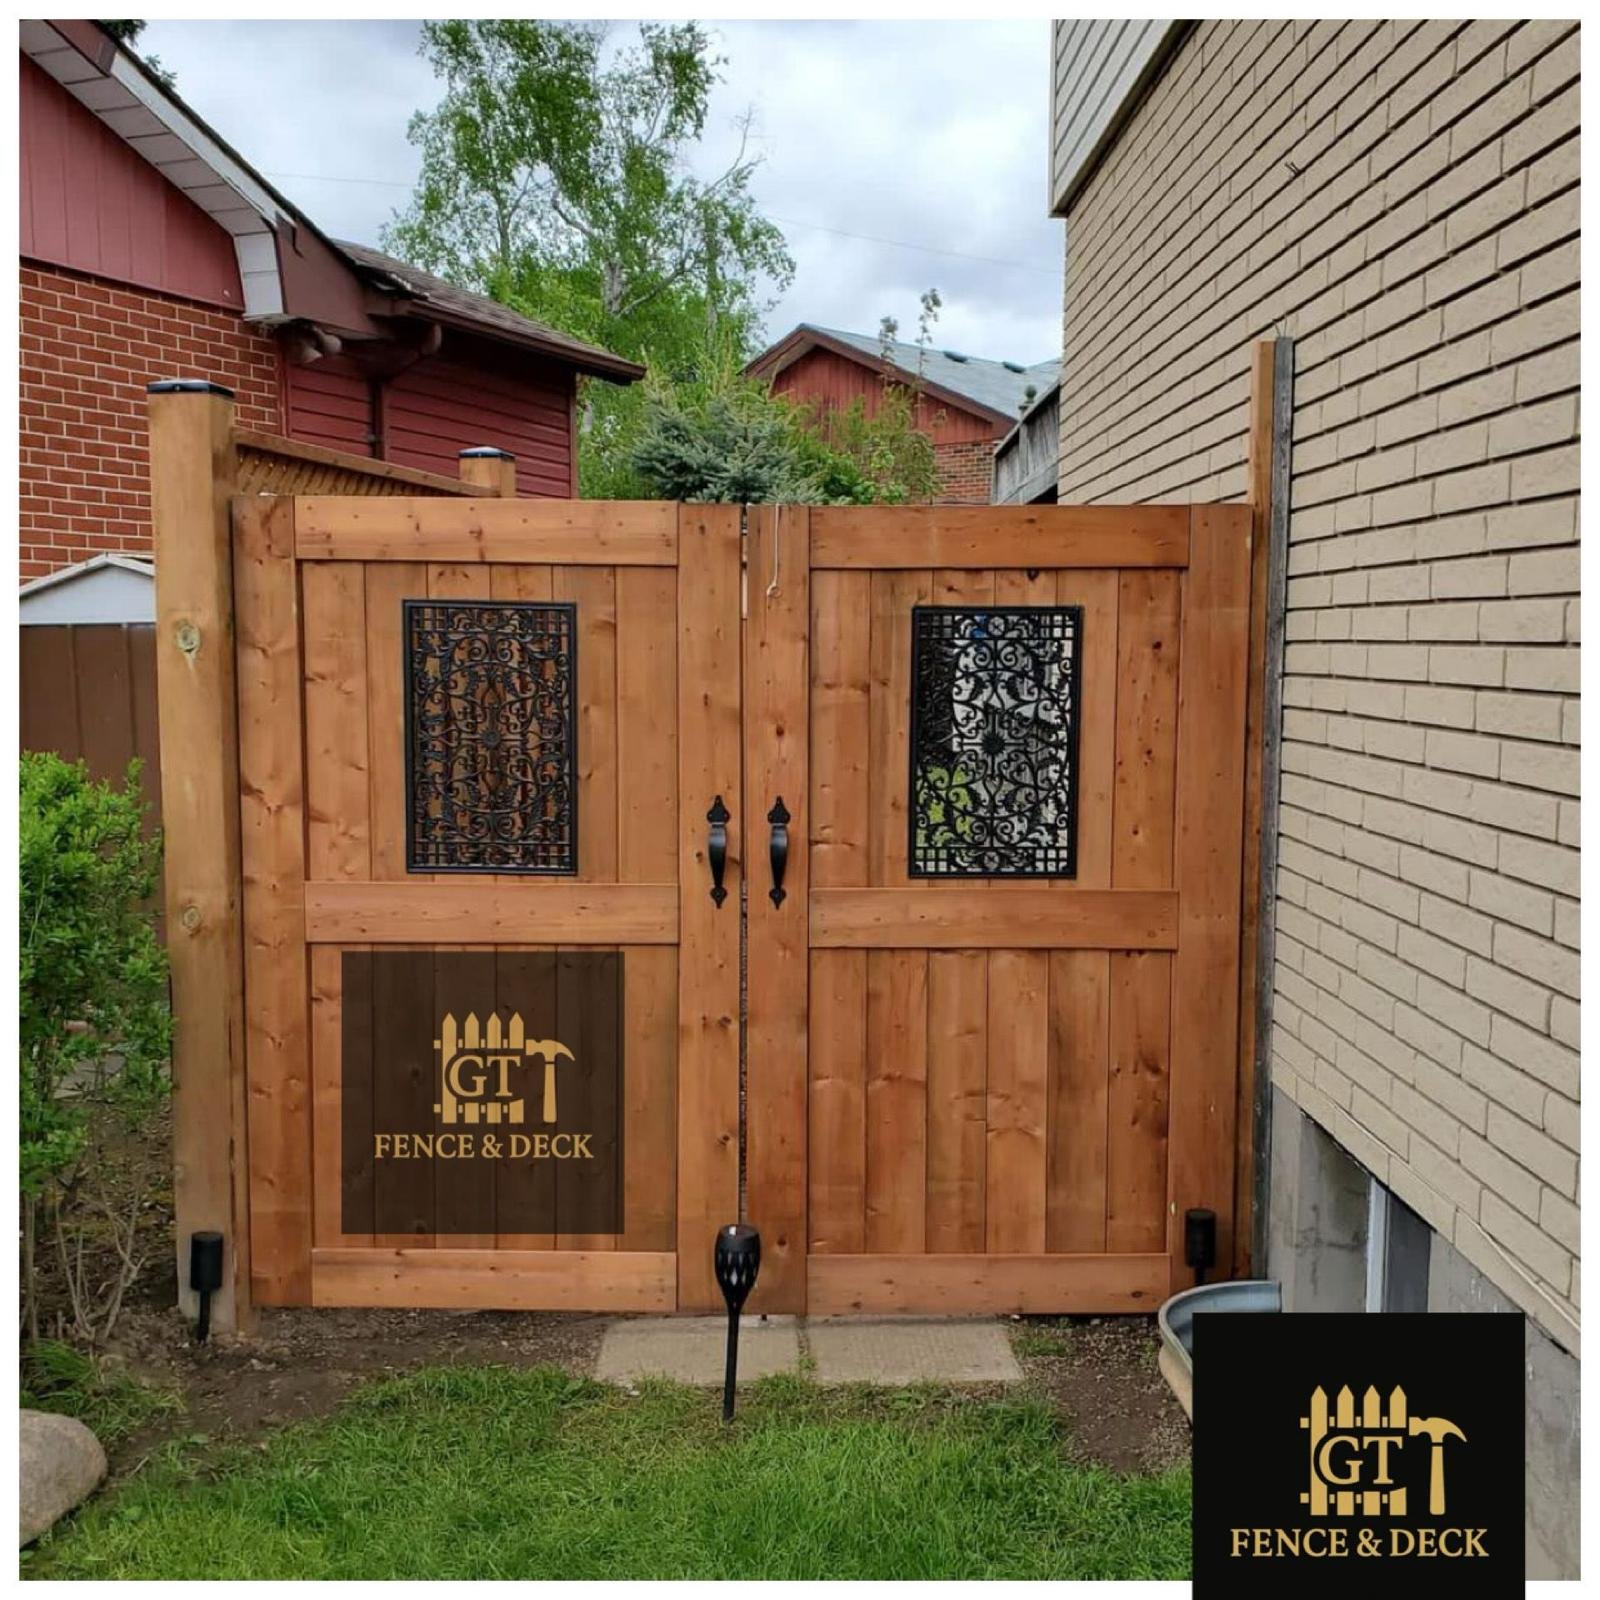
A new fence is exciting. More privacy, a safe spot for the dog, and a yard that finally feels finished. But a little prep before install day saves a lot of stress later. So we put together this fence installation checklist based on the questions we get asked most.
None of this is complicated. In fact, you can work through it over a coffee and be in great shape.
1. Start your fence installation checklist at the property line
Your fence needs to sit on your side of the line, unless you and your neighbour agree otherwise. Usually, the best reference is a property survey, which you may have received when you bought the house. Can’t find it? Let us know before any posts go in and we will talk through your options.
2. Check the local rules first
The City of Brampton has rules about things like fence height and pool enclosures. In addition, some neighbourhoods have their own guidelines. Checking only takes a few minutes, and it is much easier than changing a finished fence.
3. Get your utilities marked
Fence posts go deep, so someone has to mark the gas, hydro, cable and water lines before anyone digs. In Ontario, you request this through Ontario One Call. Best of all, it is free, and it keeps everyone safe, including your internet connection.
4. Have a quick chat with the neighbours
After all, nobody likes surprises. A friendly heads-up goes a long way, especially if the fence runs along a shared boundary. It is one of the easiest items on any fence installation checklist. In some cases, neighbours are even happy to split the cost, so it is worth asking.
5. Decide what the fence is really for
- Privacy: solid board or horizontal slat styles.
- Pets and kids: no big gaps, plus gates that close and latch securely.
- Less maintenance: composite, vinyl or aluminum.
- That natural look: cedar or stained pressure-treated wood.
Not sure which material fits your budget? Our guide on fence cost in Brampton explains what changes the price.
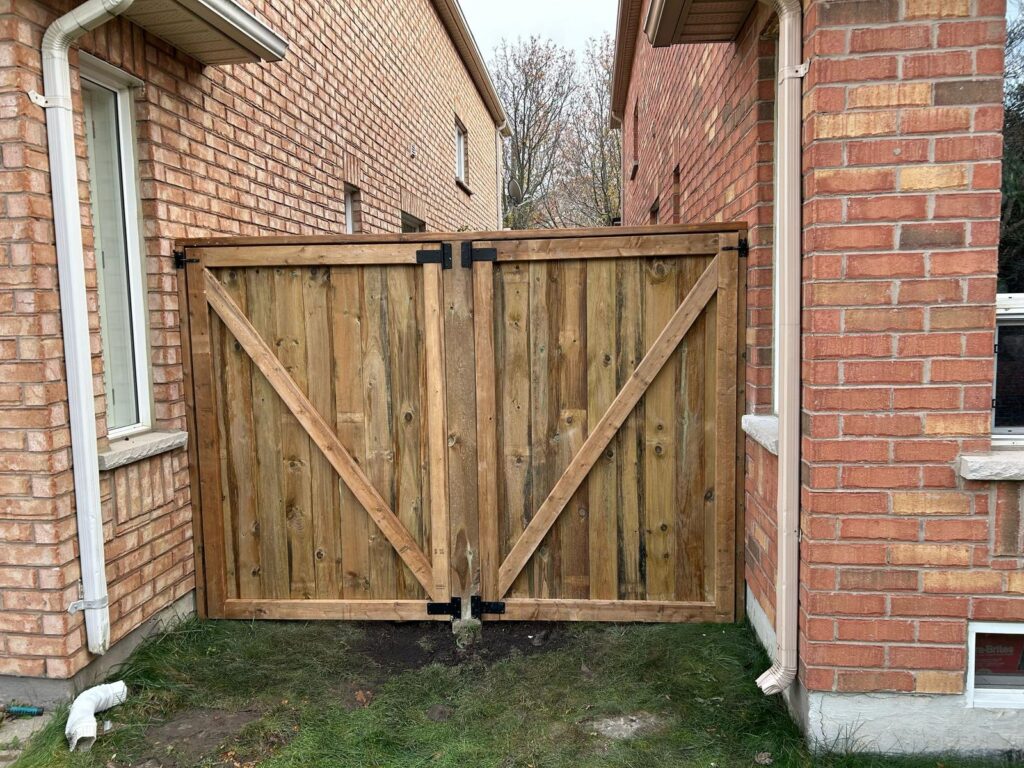
6. Add gate planning to your fence installation checklist
First, think about garbage day, the lawn mower and that trailer you borrow every summer. Then put gates where you will actually use them, and make them wide enough. It sounds obvious, but it is one of the things people most often wish they had done differently.
7. Clear the fence line
Before install day, move patio furniture, planters and anything else sitting along the fence line. Also, tell us about sprinkler lines, drainage problems or garden beds you want protected. That way, we can plan around them and keep your fence installation checklist on track.
8. Choose a contractor you feel good about
- Ask if they are licensed and fully insured.
- Look at photos of work they have actually done.
- Ask what their workmanship warranty covers.
- Get a written quote that lists materials, gates, removal and clean-up.
For what it is worth, we are locally owned, licensed and fully insured, and every job comes with a five-year workmanship warranty. You can see some of our finished fences and gates in the gallery.
Your fence installation checklist at a glance
- Property line confirmed
- Local rules checked
- Utilities marked
- Neighbours in the loop
- Style and material picked
- Gates planned
- Fence line cleared
- Contractor chosen
Want a real number for your yard? We do free on-site estimates across Brampton, Mount Pleasant, Castlemore and nearby areas. Book a quick visit or give us a call at +1 (437) 799-5158. We are happy to talk it through, even if you are just starting to plan.